Melt and pour soap is one of the most accessible ways to begin making handcrafted personal care products. Unlike cold process soap, which involves handling lye (sodium hydroxide) and waiting four to six weeks for the soap to cure, melt and pour bases are pre-saponified — the chemistry is already done. You melt, customise, and pour. Within hours you can have a finished, usable bar.
But "easy to start" does not mean "impossible to get wrong." Choosing an unsuitable base, adding too much liquid fragrance, or underestimating the behaviour of soap at different temperatures can result in bars that sweat, crack, smell wrong, or feel harsh on skin. This guide covers the decisions that matter most.
Choosing the Right Soap Base
The base is the foundation of your bar, and there is more variety than many beginners expect. The differences are not cosmetic — they affect lather quality, skin feel, transparency, how the soap behaves with additives, and what your finished bar looks like.
Clear (Transparent) Bases
Clear bases are glycerin-rich and contain a solvent — typically alcohol or a similar compound — that keeps the soap transparent. They are the go-to choice for embedding botanicals or decorative elements because you can see what is inside. They also show colour vividly.
The trade-off is that clear bases tend to sweat more readily in humid conditions because of their higher glycerin content. Glycerin is hygroscopic, meaning it draws moisture from the air. This is not a defect; it is chemistry. If you are selling or displaying clear soap bars in humid environments, wrapping them tightly is advisable.
White or Opaque Bases
Opaque bases contain additional oils or butters that scatter light, creating a creamy, white appearance. They typically produce a denser, creamier lather and have a richer feel on skin. Colour additives show differently in opaque bases — pigments read as pastel tones rather than the vivid hues possible in clear soap.
Common opaque variants include:
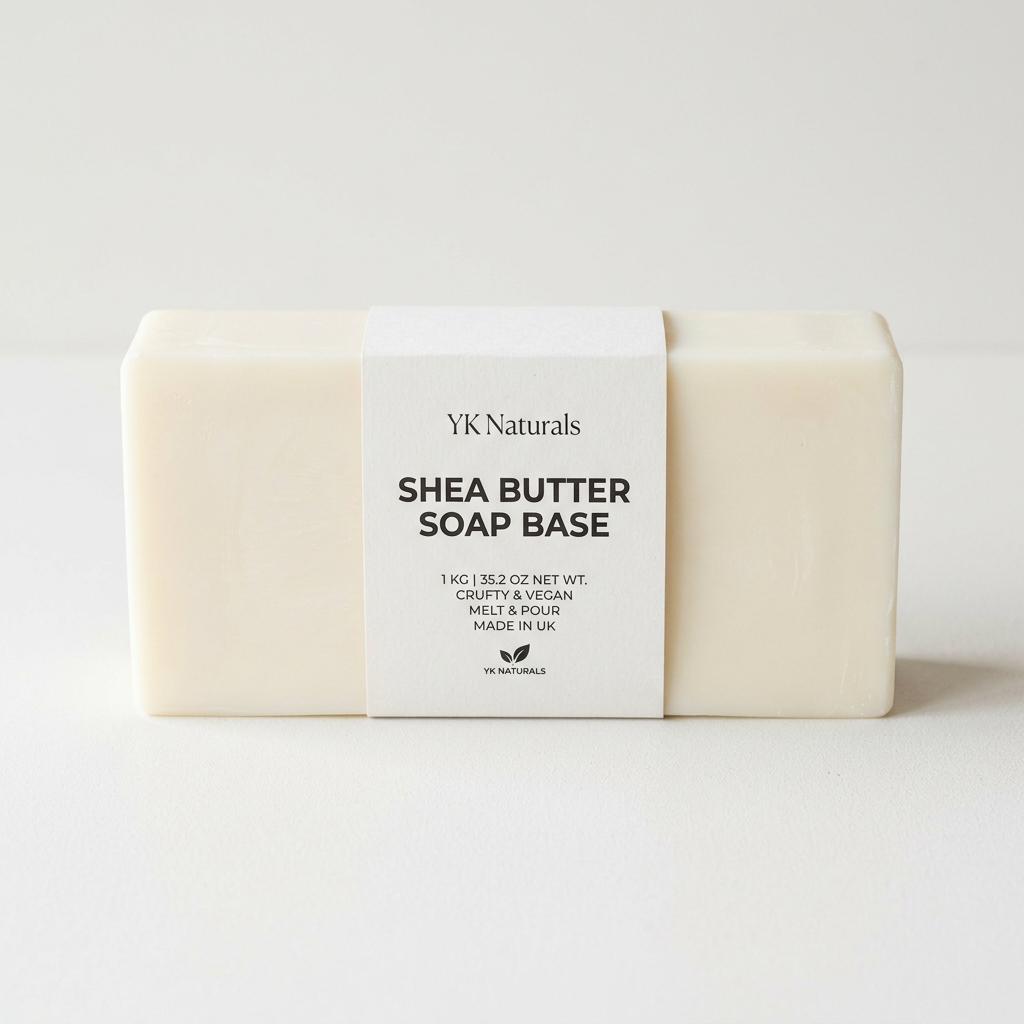
- Shea butter base — adds a conditioning feel that many find appealing for dry or sensitive skin
- Goat milk base — contains naturally occurring lactic acid and fats that are often described as gentle; useful for marketing to customers with reactive skin, though specific skin claims require appropriate evidence
- Hemp seed or olive oil bases — lean into the increasingly popular natural-ingredient narrative and tend to be softer in texture
Specialty Bases
Some suppliers offer bases formulated for specific purposes:
- Detergent-free bases — free from synthetic surfactants beyond the soap itself, appealing to makers targeting customers who prefer simpler ingredient lists
- Sensitive skin bases — typically fragrance-free and with reduced additives
- SLS-free bases — sodium lauryl sulfate is omitted; this is a common customer preference regardless of the clinical significance
Key Base Selection Criteria
When evaluating a soap base, consider:
- Does the supplier provide a full ingredient list (INCI format)?
- What is the maximum recommended fragrance addition rate?
- Is there a recommended colourant type (water-soluble vs. oil-soluble vs. mica)?
- Does the supplier provide a safety data sheet?
Adding Fragrance to Melt and Pour Soap
Melt and pour soap is a challenging medium for fragrance because the soap matrix can interact with fragrance oils in unpredictable ways.
Fragrance Oils vs. Essential Oils
Both can be used in melt and pour, but they behave differently. Fragrance oils are blended for stability across many applications; essential oils vary enormously in their volatility and behaviour.
- Citrus essential oils (lemon, sweet orange, grapefruit) are highly volatile and their scent may not survive well in a finished bar, or may fade quickly after pouring
- Heavier essential oils (cedarwood, patchouli, sandalwood) tend to hold better in soap
- Fragrance oils formulated specifically for cold process or melt and pour soap will generally be more stable and have been tested in the medium
Seizing: The Most Common Fragrance Problem
Seizing occurs when a fragrance or essential oil causes the melted soap to thicken suddenly, often dramatically, making it impossible to pour. This happens when the fragrance interacts with the soap's pH. It is more common in cold process soap than melt and pour, but it can still occur.
Signs of seizing:
- Soap becomes gluey or lumpy immediately after adding fragrance
- You cannot pour it smoothly into the mould
To reduce the risk:
- Use fragrance oils that your supplier has specifically tested in soap
- Add fragrance when the soap is at its recommended pour temperature (usually 55–65°C; consult your base's guidance)
- Work quickly once fragrance is added
Recommended Addition Rates
Suppliers typically recommend fragrance loads between 2% and 3% for leave-on body use (where the soap stays on skin) and up to 3–4% for rinse-off applications. Melt and pour soap is rinse-off, which gives slightly more latitude than a leave-on lotion. Always check your fragrance supplier's skin-safe usage rate for soap as an application category.
Working with Colour in Melt and Pour
Colour in melt and pour comes from several sources, each with different characteristics.
Micas
Micas are finely milled mineral-derived powders that produce shimmery, metallic, or pearl-effect colours. They are widely used in melt and pour soap. To avoid clumps, disperse mica in a small amount of isopropyl alcohol or a carrier oil before adding to melted soap.
In clear soap, micas create a glittery, luminous effect. In opaque bases, they can add colour with a subtle sheen.
Liquid Soap Dyes and Water-Soluble Colourants
These mix readily with the soap base and distribute evenly. They tend to produce vivid, consistent colour without shimmer. Use sparingly — a few drops per 100 g of base is usually sufficient. Over-colouring can make the soap look synthetic and may increase the chance of staining washcloths or surfaces.
Oxides and Ultramarines
These are mineral pigments that produce matte, earthy tones. Popular for rustic or natural aesthetics. They require thorough mixing to avoid streaks and may produce slightly different shades in clear vs. opaque bases.
What Not to Add
- Food colourants — may bleed, fade quickly, or stain; not formulated for personal care products
- Cosmetic glitter (unless specified as water-soluble or rinse-off safe) — fine particle plastic glitters are an environmental concern; use biodegradable alternatives
Using Moulds With Melt and Pour
Melt and pour is forgiving with moulds, but the choice still matters.
Silicone Moulds
Silicone is the most popular choice. The soap releases cleanly without greasing the mould, intricate designs demould without damage, and cleaning is straightforward. Individual cavity moulds allow you to make shaped bars (flowers, geometric forms, embossed designs), while loaf moulds allow you to pour a larger block and slice into bars.
Plastic Moulds
Rigid plastic moulds are often used for simple shapes and can produce clean edges. They may require a slight bend or tap to release the soap. Avoid thin plastic that can warp under the heat of freshly poured soap.
Acrylic Moulds
Acrylic loaf moulds are used in both melt and pour and cold process soap. They produce bars with very flat, smooth sides — useful for retail presentation. The soap typically requires a liner or a light coat of release agent to prevent sticking.
A Beginner's Melt and Pour Checklist
Before your first pour:
- [ ] Base supplier's full ingredient list (INCI) obtained and reviewed
- [ ] Pour temperature confirmed with base guidance
- [ ] Fragrance addition rate within skin-safe limits for rinse-off products
- [ ] Fragrance tested for seizing tendency (or confirmed soap-safe by supplier)
- [ ] Colourant type appropriate for base (water-soluble for clear base dispersion; micas dispersed in carrier/alcohol first)
- [ ] Mould clean, dry, and placed on a flat level surface before pouring
- [ ] Isopropyl alcohol in a spray bottle ready (spritz the surface of poured soap to pop air bubbles)
- [ ] Soap labelled with ingredient list before sale or gifting
Common Mistakes and How to Avoid Them
Overheating the base. Melt and pour base should be melted gently — ideally in a bain-marie or microwave in short bursts — and not allowed to boil. Overheating can scorch the base, burn off fragrance, and affect the finished bar's texture.
Adding fragrance at too high a temperature. Adding fragrance when the soap is significantly hotter than recommended causes fragrance to volatilise rapidly, reducing scent in the final bar.
Skipping the bubble-popping step. Surface bubbles are almost inevitable. A quick spritz of isopropyl alcohol immediately after pouring disperses them before the soap sets. This makes an enormous difference to the finished appearance.
Unmoulding too soon. Patience pays. Allow melt and pour soap to cool fully at room temperature, or refrigerate briefly for intricate moulds. Attempting to unmould while still soft can deform or crack the bar.
Melt and pour soap rewards attention to detail without demanding the advanced chemistry knowledge of cold process. Start with a quality base, keep your first few batches simple, and build confidence before layering in complex techniques like swirls, embeds, or multi-pour designs.